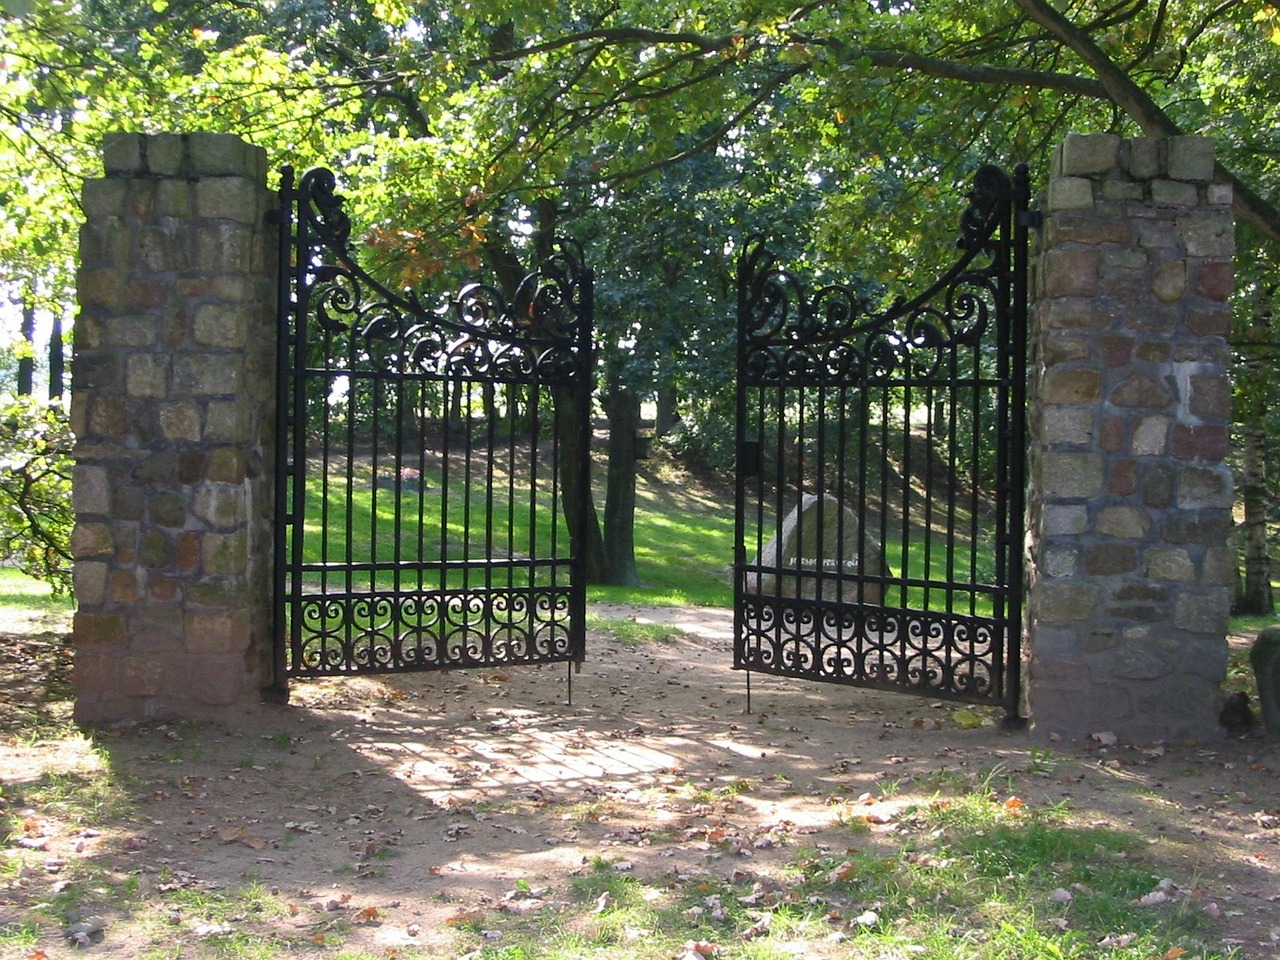
To give your home a distinctively unique look and improve security, you need to install one of the sliding driveway gates. The type of driveway you choose is all dependent on your personal preferences.
For a FREE Driveway Gate ESTIMATE, call 021 012 5370
You can talk to one of the best driveway gate installers in Cape Town to help you choose an option that best suits your home. One of the things they will consider is the type of landscaping you have chosen for your home.

Automatic driveway gate contractors will come to your home with a ready gate kit, complete with the posts. The driveway gate prices will definitely include that. They will then install the driveway gate using the following simple steps:
Step 1. Leveling the Ground
Although they are doing an electric driveway gate installation, the contractors will have to ensure that the ground around the gate is level. You don’t want to end up with a gate that is hard to slide into place.
An uneven ground or one that steeps on one side will make it extremely hard when opening or closing the gate. Thus you must ensure that the ground is in no way elevated on either side of the driveway.
Step 2. Determining Where to Install the Posts
Driveway gate installation in Cape Town involves a careful reading of the instructions provided by the manufacturer. Check the number of inches prescribed by the manufacturer for properly setting the posts.
The installers should be careful not to confuse the side of the posts that go into the ground for the tops. Galvanized driveway gates will have the posts facing in a specific direction. That’s why it is important to check what the manufacturer prescribes.
Step 3. Digging the Post Holes
After determining the measurements and marking where the posts will be installed, the contractor will help you get in contact with the local authorities. You want to check if there are any underground lines where you are digging.

Once the local authorities give an okay to dig, the contractor will dig the post holes up to the required depth. To stop the posts from causing problems after settling, you can extend the depth by six inches and fill in some concrete.
Step 4. Mounting the Posts
Start with one post. Place it in its hole and use a level and plumb bob to check that it is standing perfectly horizontal and vertical. Place the other post in its hole and ensure it is standing at the same level. Use a string or laser. Apart from ensuring that it is perfectly level, check to ensure that the posts are properly spaced.
The most important part of installing sliding driveway gates is the proper installation and leveling of the two posts. The contractor should take a lot of time to go through this step. Before installing steel driveway gates, it is important that the concrete used is allowed to dry first. You can give it at least 2 days.
Step 5. Installing the Gate
Wooden driveway gates should be installed in strict adherence to the manufacturer’s instructions. Each piece will come with unique requirements that should be followed to the letter. You should basically experience no problem if you installed the posts correctly.

We work with hotels, resort, public houses, restaurants, cafes, sports facilities, shopping malls, apartment buildings, warehouses, medical centers, retail centers, hospitals, and nursing homes.


