
Slope Calculation, Waterproof Membrane Layering, and Grout Cavity Depth
Why 90% of Cape Town DIYers Get This Wrong (And How to Nail It)
Last year, we repaired a shower in Constantia where water pooled around the drain, soaking the ceiling below. The culprit? A botched tile slope and a half-hearted waterproofing job. Shower floors are unforgiving—miss the 2% slope or skimp on membrane overlaps, and you’ll flood your bathroom (and your neighbor’s).
Here’s how we tackle shower floors for Cape Town’s heritage homes and modern apartments alike, using methods approved by the National Home Builders Registration Council (NHBRC).
Tools & Materials You’ll Need
- 2-meter aluminum straightedge (Cape Town Tile & Tool hires these)
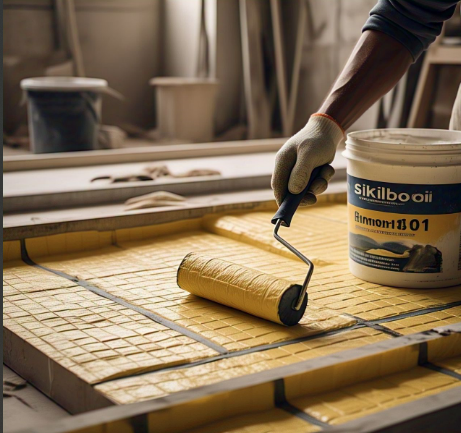
- Sikafloor-161 primer (the only one we trust for SA humidity)
- Schluter Kerdi membrane (available at Tile Africa)
- Notched trowel (6mm x 6mm notch size)
- Rubber grout float (avoid plastic—it scratches tiles)
- Laser level (Bosch GTL3 for small spaces)
Step 1: Calculate the Slope Like a Pro

Shower floors need a 2% slope toward the drain. For a 1m x 1m shower:
- Drop = 1,000mm x 0.02 = 20mm
- Use a laser level to mark the perimeter height, then taper tiles toward the drain.
Cape Town quirk: Older homes (think Gardens or Woodstock) often have uneven subfloors. Check for dips with a straightedge—fill gaps with Sika Level-45 leveling compound.
Step 2: Waterproofing: No Shortcuts
Waterproofing failures cause 70% of shower leaks. Follow this sequence:
- Prime the floor: Apply Sikafloor-161 with a roller. Let it dry fully—Cape Town’s winter humidity can stretch this to 4 hours.
- Lay the membrane: Schluter Kerdi sheets overlap by 50mm. Seal seams with Kerdi-Band and a 100mm paint roller.
- Test for leaks: Plug the drain, fill the shower with 20mm water, and check for drops after 24hrs.
Pro tip: Skip cheap “blue skin” membranes—they peel under Cape Town’s UV exposure during rooftop deliveries.
Step 3: Tile with the Right Cavity Depth
Grout cavities matter more than you think:
- Ideal depth: 2–3mm (use tile spacers from Builders Warehouse).
- Too deep (>5mm): Grout cracks under foot traffic.
- Too shallow (<1mm): Tiles pop off from expansion.
Watch for this: Porcelain tiles expand in summer heat. Leave a 2mm gap at walls (we use TEC Skill Set flexible grout for this).
Step 4: Grout Like You’re on a Time Limit

Cape Town’s hard water leaves gritty residue if grout dries too slowly. Mix Ardex FL with latex additive (not water) for:
- Faster curing (30 mins vs. 2 hours).
- Mold resistance (critical for coastal suburbs like Muizenberg).
Application hack: Hold the float at a 45° angle and press grout diagonally into joints. Wipe excess with a damp—not wet—sponge.
Common Mistakes (And How to Fix Them)
- Mistake: Ignoring the perimeter gap.
Fix: Leave 2mm around edges (fill with silicone, not grout). - Mistake: Reusing old drain seals.
Fix: Always replace seals—we use Geberit Sigma20 drains.
When to Call a Pro
If your shower base has cracks or the membrane tests leaky (common in Hout Bay’s salt-damaged homes), hire a specialist. Water damage can cost R15k–R30k to remediate.
FAQ: Cape Town Edition
Q: Can I tile over existing shower tiles?
A: Only if they’re perfectly level. We’ve demoed 3 layers of tiles in Rondebosch homes—rather start fresh.
Q: How do I fix hollow tiles without removing them?
A: Inject SikaBond T-21 adhesive through drilled holes. Works 80% of the time in our projects.
Need Help?
CPT Builders offers shower renovations. Book a free inspection today!
CPT Builders
8 The Oval Pinelands
Cape Town
7405
021 012 5370


