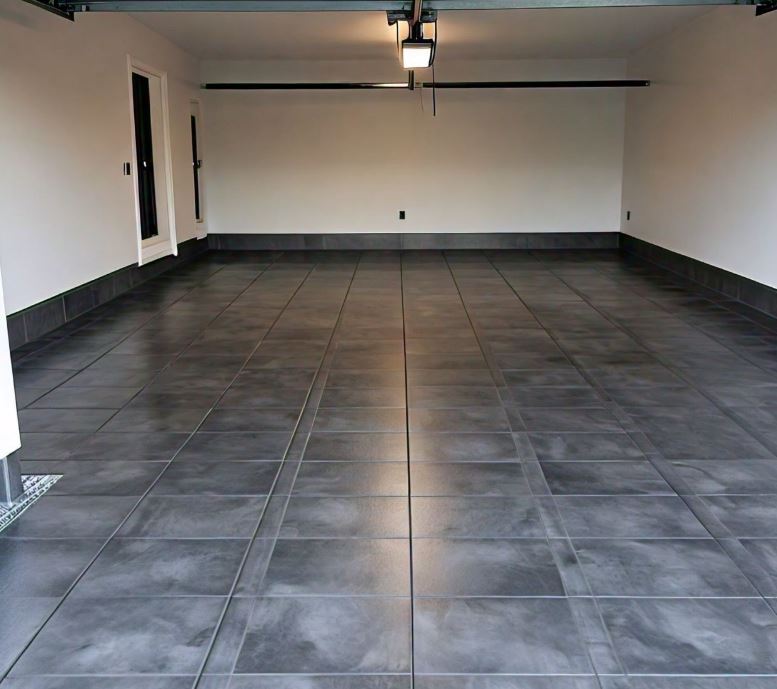
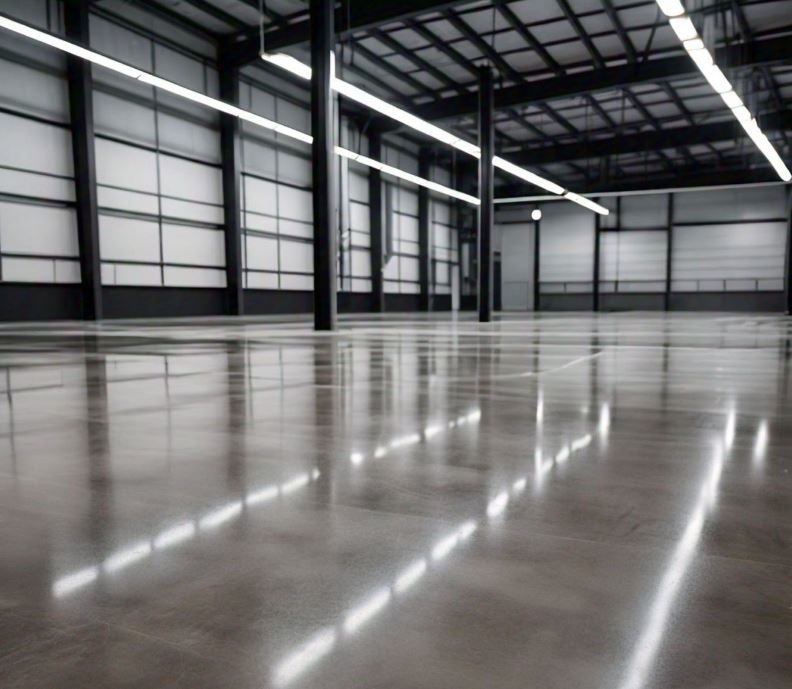
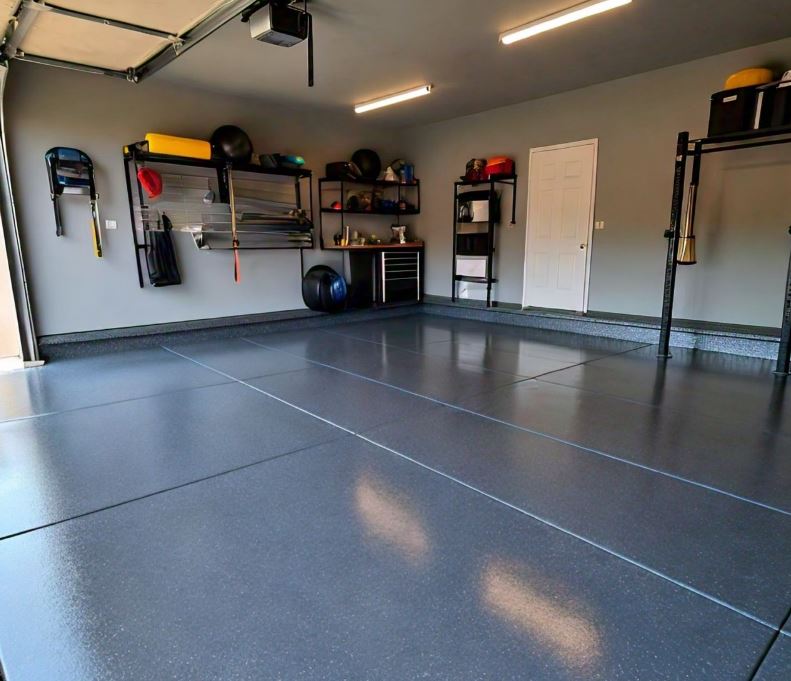
Renovating or converting your garage can significantly enhance the functionality and value of your home. Whether you are looking to upgrade a single garage, double garage, or even a triple garage, choosing the right flooring for your garage in Cape Town is a crucial step in the process.
The right flooring not only improves the aesthetic appeal but also ensures durability and ease of maintenance.
Garage Flooring Ideas: Choosing the Right Material
| Material | Pros | Cons | Square Meter | Suppliers |
|---|---|---|---|---|
| Epoxy | Durable, easy to clean, seamless | Can be slippery when wet, requires professional installation | R600 – R1,200 | Local hardware stores, specialized epoxy suppliers, online retailers |
| Tiles | Aesthetic appeal, easy to replace damaged sections | Can crack under heavy impact, grout can get dirty | R200 – R800 | Tile shops, home improvement stores, online retailers |
| Concrete | Durable, customizable with stains and finishes | Can be hard and cold, prone to cracking | R150 – R400 | Local concrete suppliers, hardware stores |
| Rubber Mats | Easy to install, slip-resistant, cushioned | Can be more expensive, limited design options | R500 – R1,500 | Fitness equipment stores, online retailers, hardware stores |
Epoxy Flooring

Epoxy flooring is known for its durability, easy maintenance, and seamless finish. Here are the steps involved in installing epoxy flooring.
- Proper mixing of the epoxy resin and hardener is essential for a durable finish. Follow the manufacturer’s instructions for the correct ratio and mixing time.
- Start by preparing the garage floor surface, ensuring it is clean and free of debris.
- Apply the base coat evenly across the entire garage floor to ensure proper adhesion.
- Optionally, sprinkle decorative chips onto the wet base coat for a textured look and added slip resistance.
- Once the base coat has cured, apply the top coat to seal the surface and protect the epoxy layer. This enhances durability and provides a glossy finish.
Tile Flooring

Tile flooring offers versatility and aesthetic appeal. Here’s how to install tile flooring in your garage.
- Plan the tile layout before starting. Measure the floor and determine the best pattern to minimize cuts and wastage.
- Use a tile cutter to trim tiles to fit the edges and corners of the garage, ensuring a professional finish.
- Apply tile adhesive using a notched trowel, then press the tiles firmly into place, maintaining consistent gaps with spacers.
- After the adhesive sets, fill the gaps between tiles with grout. Once the grout dries, apply a sealer to protect the tiles and grout lines from moisture and stains.
Concrete Flooring

Stained or sealed concrete flooring offers a durable and customizable option. Here’s how to stain or seal concrete in your garage.
- Clean the concrete thoroughly, removing any dirt, oil stains, and debris. Allow it to dry completely before proceeding.
- Apply the concrete stain or sealer using a sprayer or roller for even coverage. Multiple coats may be required to achieve the desired color and finish.
- Allow each coat to dry according to the manufacturer’s instructions before applying subsequent coats or sealers.
- Once dry, apply a topcoat or sealer to protect the concrete from wear and enhance its longevity.
Rubber Mats

Rubber mats are easy to install and provide cushioning and slip resistance. Here’s how to install rubber mats in your garage.
- Measure the garage floor and cut the rubber mats to fit accurately. Ensure straight cuts for a neat and professional appearance.
- Lay out the rubber mats in the desired pattern, utilizing interlocking features if available to simplify installation.
- Depending on the type of mats, secure them with adhesive or double-sided tape along the edges and seams to prevent shifting.
Preparing the Garage Floor
Before installing new flooring, it’s crucial to prepare the garage floor properly:
- Clean the existing surface thoroughly, removing dirt, oil stains, and debris that could affect adhesion.
- Inspect the floor for cracks or damage. Repair any imperfections using concrete filler or a suitable patching compound to create a smooth, even surface.
- Use a level to check for uneven areas. Correct any discrepancies with a self-leveling compound to ensure the new flooring will lay flat and adhere properly.
Installing the Flooring
Once the garage floor is prepared, follow these steps to install your chosen flooring material:
- Begin installation according to the specific requirements of the chosen flooring type (epoxy, tiles, concrete stain/seal, rubber mats).
- Complete the installation process by adding any necessary trim or baseboards around the perimeter of the garage.
- Conduct a final cleaning and inspection to ensure the flooring is installed correctly and meets your expectations.
Maintenance Tips
Maintaining your garage flooring is essential to prolong its lifespan and appearance:
- Regularly clean the floor to remove dirt, debris, and spills that could cause stains or damage.
- Depending on the flooring type, consider periodic re-coating, sealing, or re-grouting to maintain protection and appearance.
- Follow specific maintenance guidelines provided by the manufacturer for your chosen flooring material to ensure optimal performance and durability.


